
Contents
Introduction:
Adobe Photoshop is a powerful and versatile tool for photo editing and graphic design. If you’re new to Photoshop, navigating its myriad features may seem daunting at first. Fear not! This step-by-step tutorial will guide you through the basics, helping you become familiar with the essential tools and functions. By the end, you’ll be well-equipped to start creating and editing images like a pro.
Step 1: Getting Started
- Install Adobe Photoshop: Begin by installing Adobe Photoshop on your computer. You can choose a subscription plan that suits your needs from the Adobe Creative Cloud.
- Opening a New Project: Launch Photoshop and select “File” > “New” to create a new project. Enter the desired dimensions and resolution for your project, and click “OK.”
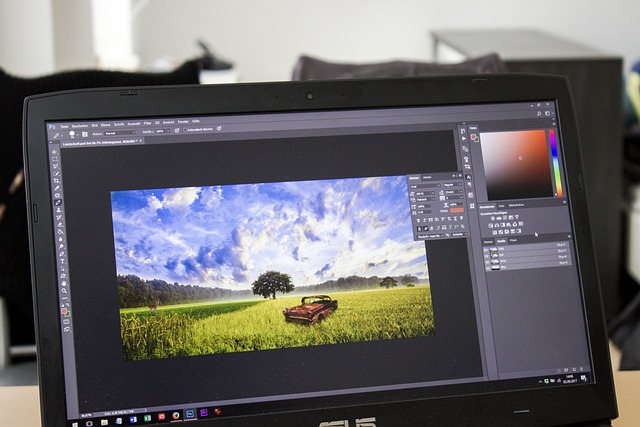
Step 2: Understanding the Interface
- Toolbox: Familiarize yourself with the toolbox on the left side of the screen. Each icon represents a different tool. Hover over each tool to see its name and shortcut key.
- Menu Bar: Explore the menu bar at the top, where you’ll find various options for file management, editing, image adjustments, and more.
- Layers Panel: The layers panel, usually on the right side, displays all the layers in your project. Layers allow you to stack and organize elements in your design.
Step 3: Basic Editing Tools
- Crop Tool: Select the Crop Tool (shortcut C) to trim or resize your image. Click and drag to select the area you want to keep, and press Enter.
- Brush Tool: The Brush Tool (shortcut B) is essential for painting and drawing. Adjust the brush size and opacity in the options bar at the top.
- Eraser Tool: Use the Eraser Tool (shortcut E) to remove parts of your image. Adjust the eraser size and hardness in the options bar.
Step 4: Understanding Layers
- Adding a New Layer: Click on the “New Layer” icon at the bottom of the layers panel. This allows you to work on different elements separately.
- Layer Styles: Double-click on a layer to access layer styles such as blending options, drop shadows, and more. Experiment with these to enhance your design.
Step 5: Making Selections
- Marquee Tools: Use the Marquee Tools (shortcut M) to make selections. The Rectangular Marquee Tool and the Elliptical Marquee Tool are handy for basic shapes.
- Lasso Tools: The Lasso Tools (shortcut L) let you draw freeform selections. Experiment with the Magnetic Lasso for more precise selections.
Step 6: Image Adjustments
- Image Adjustments: Navigate to “Image” > “Adjustments” to tweak image properties such as brightness, contrast, and color balance.
- Filters: Explore the “Filter” menu to apply various effects to your image. Experiment with filters like Gaussian Blur or Sharpen for different results.
Step 7: Saving Your Work
- Save and Export: Once you’re satisfied with your project, save your work by selecting “File” > “Save” or “Save As.” For sharing online, choose “Export” > “Save for Web.”
Conclusion:
Congratulations! You’ve completed the basic tutorial on how to use Adobe Photoshop for beginners. This foundation will empower you to explore more advanced features and techniques as you become more comfortable with the software. Don’t hesitate to experiment and let your creativity flow! Photoshop offers a vast array of possibilities for image editing and design, and with practice, you’ll unlock its full potential.