January 14, 2023 Imphal By Banti Phurailatpam:
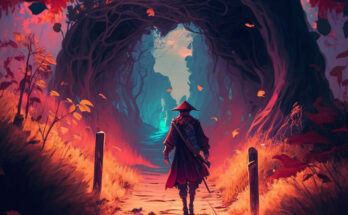
Creating a matte painting with the help of artificial intelligence involves combining traditional painting techniques with the capabilities of AI tools. Follow this step-by-step tutorial to explore how AI can enhance your matte painting process.
Contents
- 1 Step 1: Conceptualize Your Scene
- 2 Step 2: Select Your Tools
- 3 Step 3: Gather Resources
- 4 Step 4: Background Creation
- 5 Step 5: Sky Replacement
- 6 Step 6: Foreground Elements
- 7 Step 7: Lighting and Atmosphere
- 8 Step 8: Refinement with Neural Style Transfer
- 9 Step 9: Detailing and Texture
- 10 Step 10: Final Adjustments
- 11 Step 11: Export and Share
- 12 Tips:
Step 1: Conceptualize Your Scene
Before diving into AI-assisted techniques, have a clear vision of your matte painting. Determine the landscape, atmosphere, and elements you want to include. Sketch a rough concept to guide your process.
Step 2: Select Your Tools
Choose a digital painting software that supports AI tools, such as Adobe Photoshop or Corel Painter. Additionally, you may want to explore AI-powered image generation tools like DALL-E by OpenAI or similar platforms.
Step 3: Gather Resources
Collect high-resolution images that match your envisioned scene. Consider landscapes, skies, and architectural elements. Websites like Unsplash or Adobe Stock provide a variety of free and paid resources.
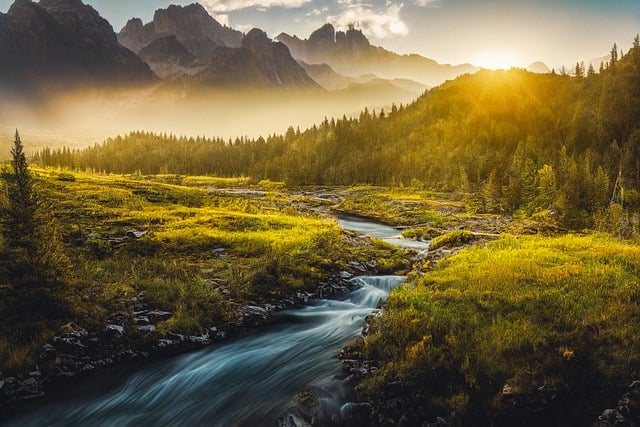
Step 4: Background Creation
Start by creating the background of your matte painting. Use traditional painting techniques to establish the base. Then, leverage AI tools to generate detailed elements, such as mountains or forests, based on your input. Integrate these AI-generated elements seamlessly into your background.
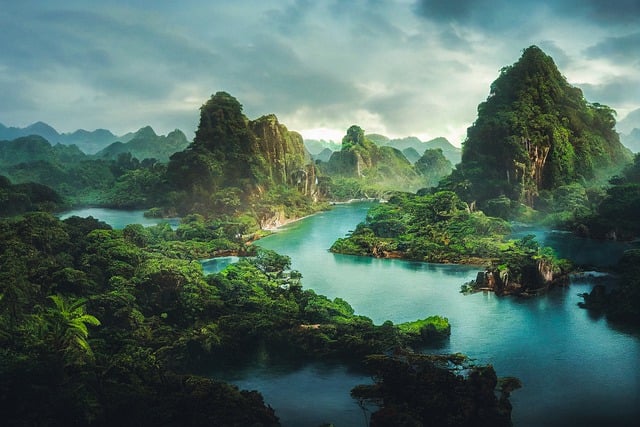
Step 5: Sky Replacement
AI tools can assist in creating realistic skies. Choose or create a sky image and use AI to refine its details, colors, and lighting. Blend it into your scene, adjusting opacity and color balance to achieve a harmonious integration.
Step 6: Foreground Elements
Paint the foreground elements traditionally, ensuring they align with the perspective of your scene. AI tools can aid in detailing and refining these elements. For instance, use AI to generate intricate textures for rocks, foliage, or architectural details.
Step 7: Lighting and Atmosphere
Enhance the mood of your matte painting with AI-assisted lighting effects. Experiment with different lighting scenarios, adjusting shadows and highlights to create a realistic atmosphere. AI tools can provide suggestions for optimal lighting conditions based on your scene.
Step 8: Refinement with Neural Style Transfer
Explore neural style transfer techniques to refine the overall look of your matte painting. Apply artistic styles to your scene, experimenting with different textures and brushstrokes. This adds a unique touch to your creation.
Step 9: Detailing and Texture
Manually add intricate details and textures to your matte painting to enhance realism. AI tools can provide suggestions for detailing specific elements based on the style and details present in your scene.
Step 10: Final Adjustments
Review your matte painting as a whole and make any necessary adjustments. Fine-tune colors, contrast, and overall composition. Ensure that all elements, both traditionally painted and AI-generated, cohesively come together.
Once satisfied with your matte painting, export it in the desired format. Share your work on digital art platforms, social media, or use it in your professional projects.
Tips:
- Experiment with different AI tools to find the ones that complement your workflow.
- Maintain a balance between traditional painting and AI-assisted techniques for a harmonious result.
- Continuously refine and adjust your matte painting as you work through the process.
By combining your artistic skills with the power of AI, you can create stunning and imaginative matte paintings that push the boundaries of what’s possible in the digital art world.